

Buy aquariums on Amazon (paid link):

I need a small aquarium, suitable for breeding a couple of guppies and growing guppy fry. I want to make it a simple and fun DIY project for my 7 years old son to handle on his own.
Hm... a plastic bottle may serve as a small fish tank. What if we turn it upside-down?! It looks unusual and fun. The fish poop will accumulate on the bottom in the narrow part of the bottle. And we can attach a tube at the bottom to make it easier to clean the aquarium and learning some basic laws of nature about air pressure, physic and etc.

Remove all stickers from the bottle. Wash clean and dry the bottle and the bowl. Cut off the bottom part of the bottle.


Press the bottle cap into the glue. Attention: the glue is hot! You may use a tool (stick or pen) to press the cap in the glue. Let the glue cool down.


Screw the bottle into the cap. Basically, we already have made the aquarium :)

Unscrew the bottle. Use a hot soldering iron to cut a hole about 1 cm above the bottle cap. The size of the hole should be the same or slightly larger than the outer diameter of the tube.


Insert the tube through the hole inside of the bottle. Pull the tube out of the narrow side of the bottle.

We have to seal the hole we made leaving the tube inside in the bottle. Apply the hot glue on the tube about 1-2 cm away from the end of the tube.

Pull the end of the tube inside of the bottle while the glue is hot. Make sure the glue covers the hole from inside of the bottle. Adjust the tube properly before the glue cools down. The opening on the end of the tube should point to the cap of the bottle. Hold the tube in this position until the glue cools down.


Hold the tube along the bottle while the glue cools down.

Measure the size of the tube. It should be at least 5 cm longer than the bottle.

I cut the tube about 20 cm longer than the bottle.

Pull the tube through the handles of the paper clip. And then fix the paper clip to the top of the aquarium.
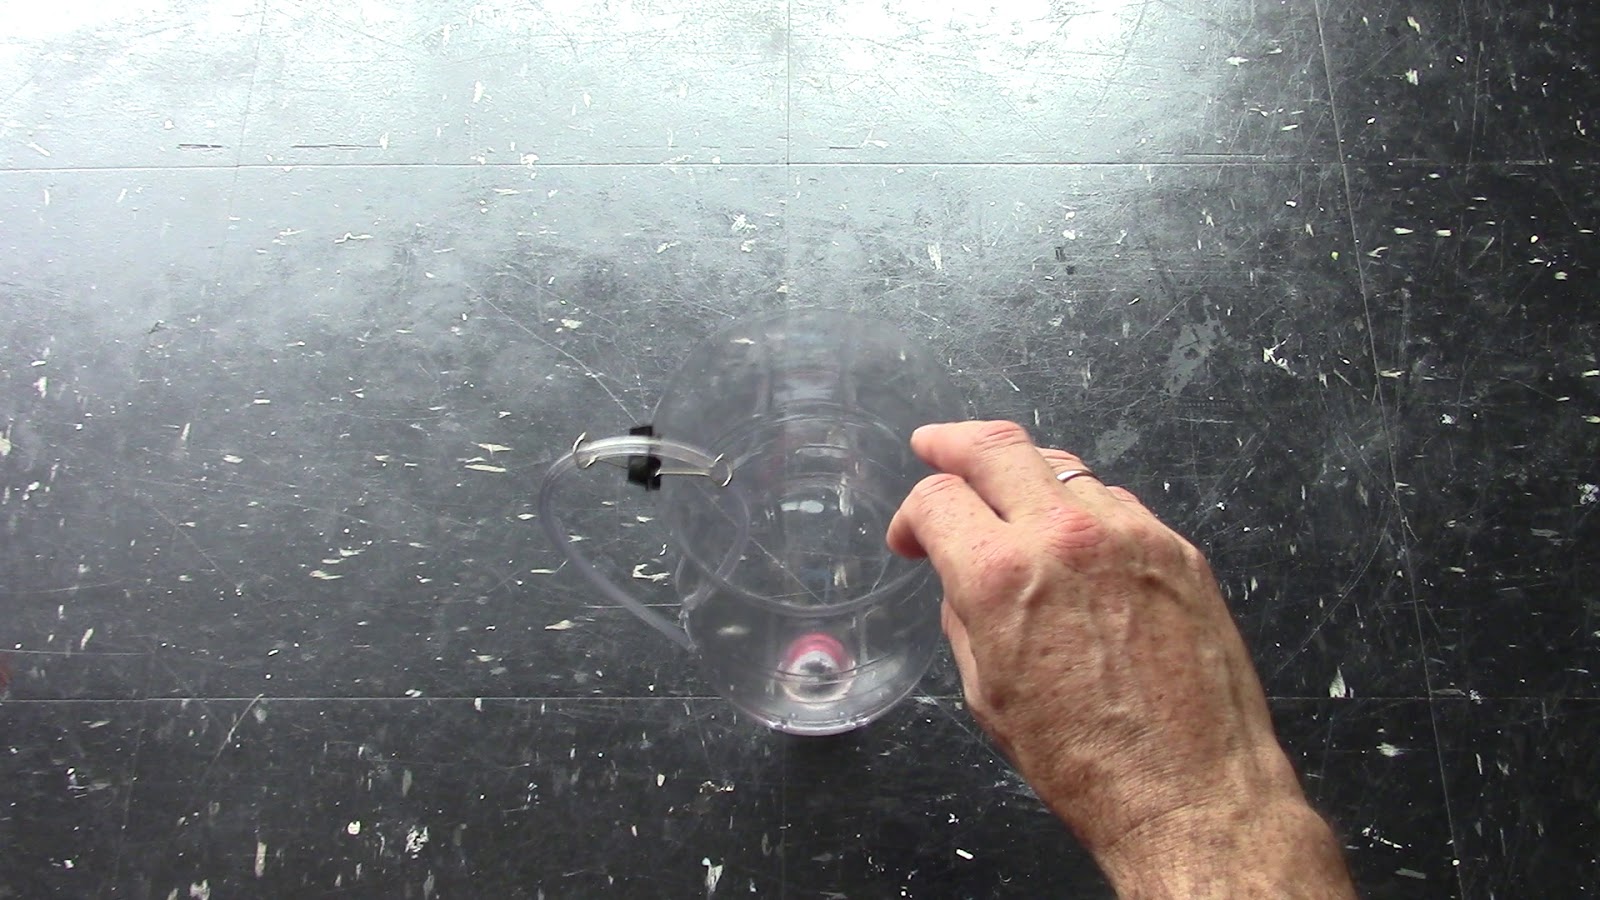
Now we can trim the tube to the proper size. Make sure it stays securely in the paper clip.


Put some rocks inside of the aquarium. First I put rocks of a larger size than the throat of the bottle.

Then we can safely place smaller sized rocks on top of the large rock.

Fill up the bowl with rock as well, placing first the large rocks and then adding the smaller rocks.

Fill up the aquarium with water. Add some water plants. Let the water settle for 24 hours or at least overnight before you populate the aquarium with fish, water snails and any other creatures.


Attach some colored paper with sticky tape to the back (and/or sides) of the aquarium to protect it from direct sun light.


When the time comes to clean up the fish poop from the bottom of the aquarium, all you need is a cup.

Release the end of the tube from the paper clip.

Slowly lower the tube below water level of the aquarium.

The water will flow from the bottom of the aquarium through the tube faster as you lower the tube.


Secure the end of the tube in the handles of the paper clip after cleaning the aquarium. Remember to add an adequate amount of water to the aquarium! Congratulations! We have made aquarium out of plastic bottle.

This small sized aquariums are suitable for small fish such as betta or couple of guppies. Here some examples of my small aquariums.


Have fun and happy fish :)
NICE IDEA :)
ReplyDelete