

After assembling a couple times my DIY under table stop motion animation photo video studio I decided to improve it.
In the following instruction, I am going to show how I made light screens for this particular project.
Though, the same screen can be used for different purposes: light screens, backgrounds for photo video, blinds or shades for window and etc.
In this example I use: old white sheet (you may choose a different fabric), duct tape (any sticky tape will do), paracord, key rings, keychain clips, 2 pipes from a broken shoe rack (any appropriately sized pipes, broomsticks, carton rolls will do).
Also, I use tools: a pan, scissors and a hot glue gun.

I chose a white sheet for the screen, because it was only the fabric available in my household. For my project, wrinkles do not matter. Otherwise, I would use a wrinkle free fabric or hot iron the sheet before making the screen!

The length of the pipe depends on the size of the screen you want to make. The pipe should be about 2-3 cm longer than the width of the screen.

Cut the sheet.


Stretch the fabric on a flat surface.
I stick it with small pieces of duct tape to the table.
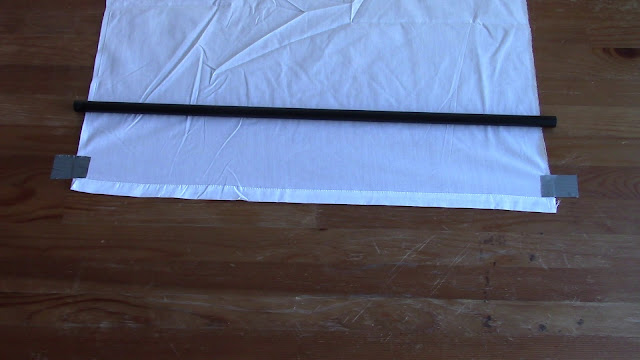
Cut a piece of duct tape of the same length as the width of the fabric. Apply about 1/3 width of the duct tape on the edge of the fabric.


Flip the edge of the fabric with the duct tape on it. Now the side of the duct tape with glue is face up.

Place the pipe next to the duct tape. Make sure the pipe protrudes evenly on both sides of the fabric.

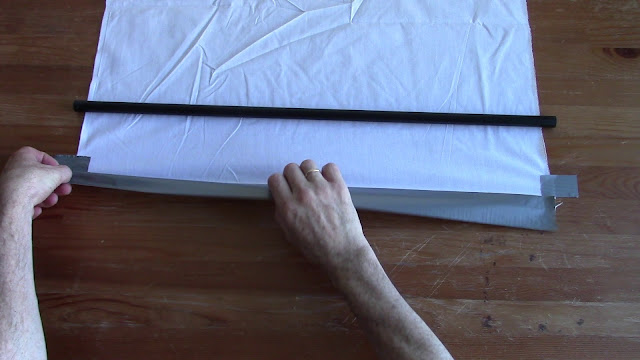
Roll the pipe over the duct tape.


Remove the small pieces of duct tape.

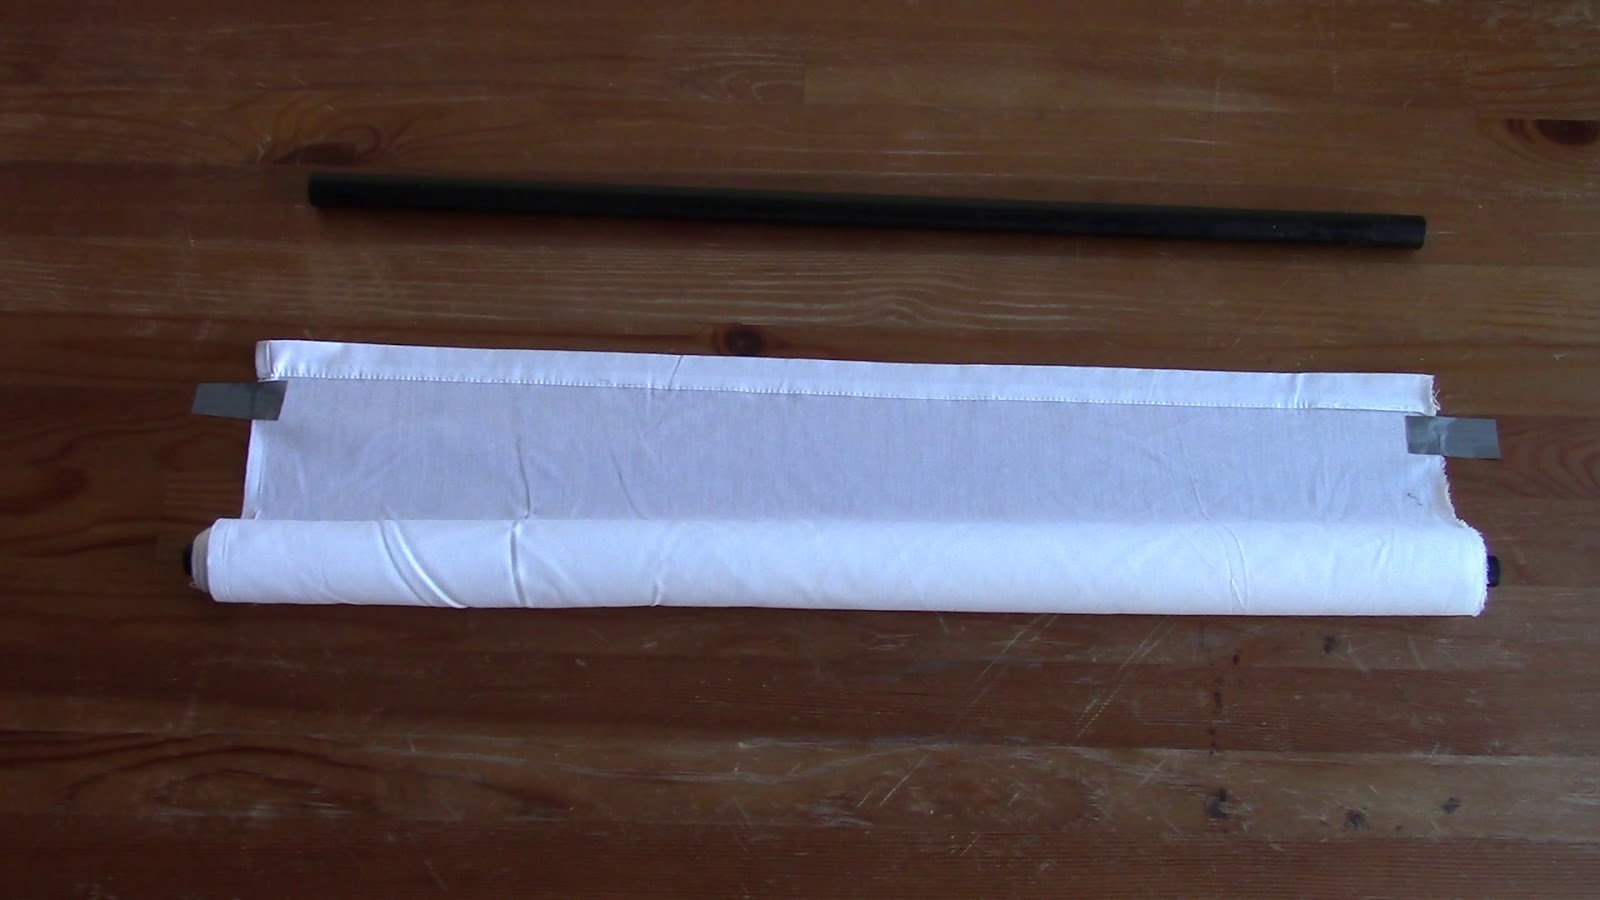
Basically, we have already made the screen. You can roll the fabric on the pipe.

I glue another pipe to the bottom of the screen in the same way as we did with the first pipe on the top of the screen. This pipe will serve as a load on the bottom of the screen to keep the screen stretched evenly. In this example I use shorter pipe. Instead of the second pipe we can use a piece of wire, stick, piece of plastic and etc. It doesn't have to be round or hollow.


You have to tie a keyring to one end of the paracord.


Pull the other end of the paracord through the top (the first) pipe.

Tie the second keyring to the end of the paracord on the other end of the pipe. The keyrings should not be too loose on the cord.


Cut off the rest of the paracord or hide it inside of the pipe.

Now I am going to use another piece of paracord with two keychain clips.

Attach one keychain clip to one end of the cord.


And then attach the second keyring clip to the other end of the cord.

Attach keychain clips to the keyrings.

Cut a piece of duct tape of the same length as the width of the fabric. Apply about 1/3 width of the duct tape on the edge of the fabric.


Flip the edge of the fabric with the duct tape on it. Now the side of the duct tape with glue is face up.


Place the pipe next to the duct tape. Make sure the pipe protrudes evenly on both sides of the fabric.

Roll the pipe over the duct tape.


Remove the small pieces of duct tape.

Basically, we have already made the screen. You can roll the fabric on the pipe.

I glue another pipe to the bottom of the screen in the same way as we did with the first pipe on the top of the screen. This pipe will serve as a load on the bottom of the screen to keep the screen stretched evenly. In this example I use shorter pipe. Instead of the second pipe we can use a piece of wire, stick, piece of plastic and etc. It doesn't have to be round or hollow.


For the next step, I am going to use a piece of paracord with two keyrings. You may use any cord or rope instead of paracord.

You have to tie a keyring to one end of the paracord.


Pull the other end of the paracord through the top (the first) pipe.

Tie the second keyring to the end of the paracord on the other end of the pipe. The keyrings should not be too loose on the cord.


Cut off the rest of the paracord or hide it inside of the pipe.

Now I am going to use another piece of paracord with two keychain clips.

Attach one keychain clip to one end of the cord.


And then attach the second keyring clip to the other end of the cord.

Attach keychain clips to the keyrings.
Congratulations! We have made the multipurpose screen.

On pictures below you may see some examples of how to use this screen.

On pictures below you may see some examples of how to use this screen.
You can hang it up at any place.

Use it for table top stop motion.

Use it for table top stop motion.
I am going to use it for my under table stop motion studio.
Have fun and happy screening :)

No comments:
Post a Comment