

Buy audio splitter on Amazon (paid link):
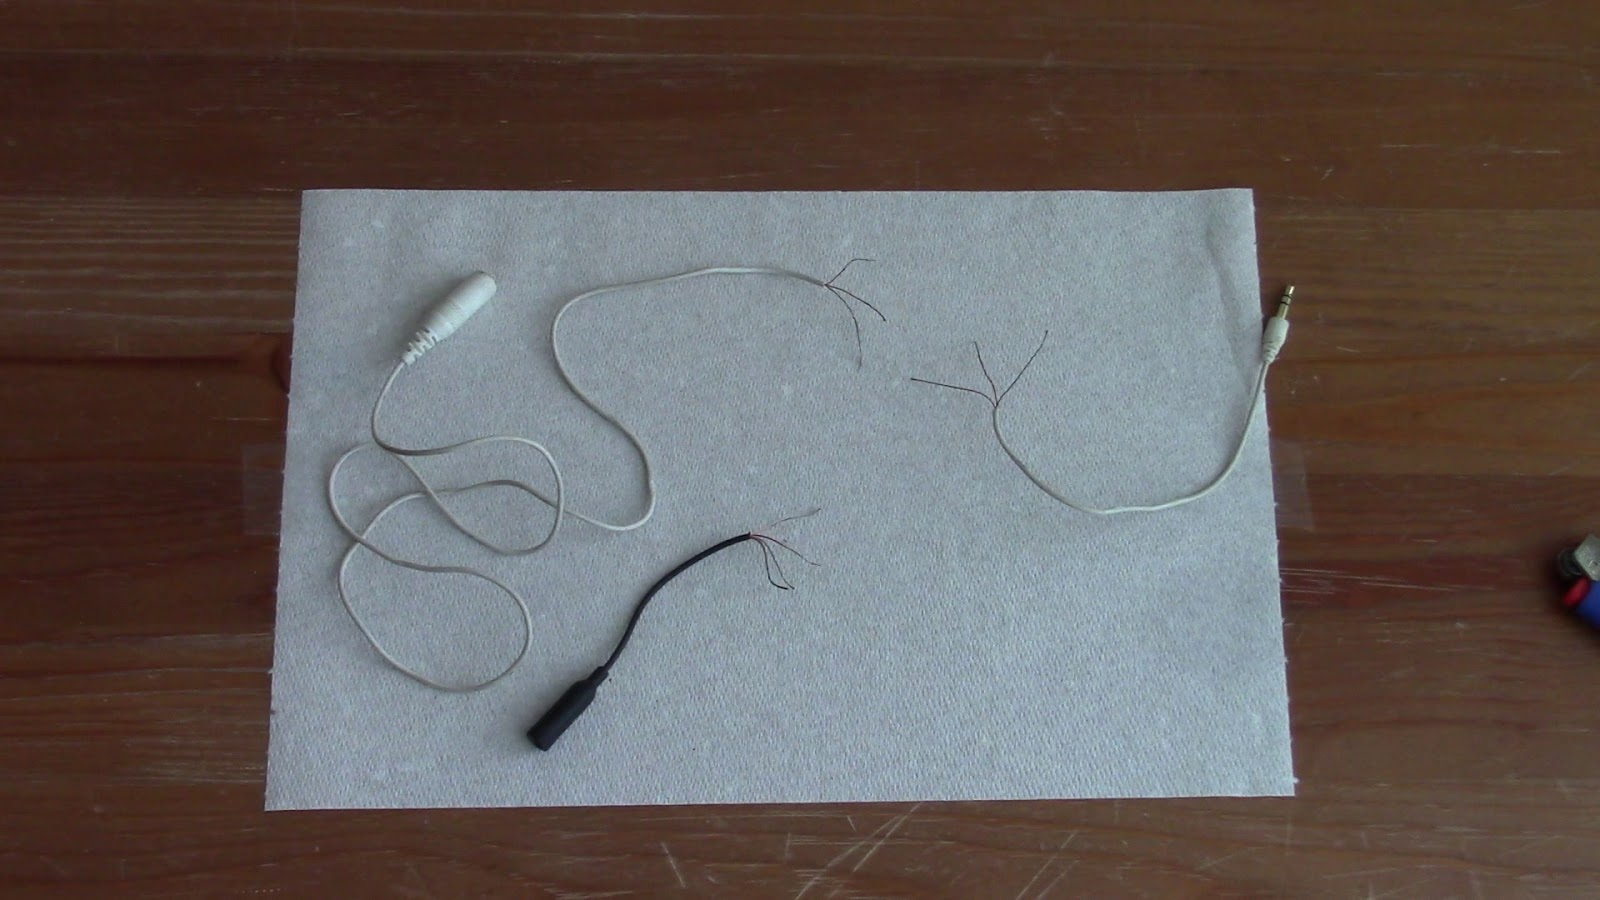
In the following instruction, I am going to use two broken extension cables with female jacks and one male jack to make another variation of an audio splitter.

Strip all cables about 3 cm away from the ends.

The wires inside of cables are usually marked with the same colors. It simplifies connecting cables to each other! In this example, the black cable has four wires: green, red, thin white and thick white.

The white cables have three wires each: green, red and white.
Each wire has protective insulation on it. It can be removed in different ways.


I simply burn about 1 cm of the insulation from the end of each wire. And wipe clean the wire.


Each wire is made of many hair thin wires. Twist them together. Prepare all wires in this way.
Connect together wires of the same color. Twist together all three green wires.

Then twist together all three red wires.

Then twist together all four white wires. Remember the black cable has two white wires. I think one of them (the white thin wire) is for a microphone or some sort of a control button - useless in my setup. That's why I twist together all four white wires. Make sure to separate different color wires from each other.

Now it's time to test the audio splitter. Plug in earphones. Plug the audio splitter in your audio device - the smartest phone or even an old radio will do. Turn it on.

The sound should come nicely through each earpiece.


I am going to use a hot glue gun to insulate exposed ends of wires and to secure them in place. Spread the glue over one connection at a time. Let the glue cool down before insulating the next connection.


Congratulations! You have made the audio splitter.
Have Fun and Happy Audio Splitting :)


No comments:
Post a Comment