


The same cover may fit different jar sizes ;)

I want to make 4 holes in the cover.
The holes should be big enough to fit a plastic straw through.

I use different size plastic straws.

Cut a 2-3 cm long piece of straw for each hole.

Use a knife or whatever cutting tool you may have to cut an X for each hole in the cover.
Poke the X, applying the knife to the top of the cover to bend sharp edges inside of the jar.


Use round nose pliers to widen the hole to the desired size and bend the edges more inside.


I use the back of a screwdriver handle to flatten the sharp edges of the hole.


Make as many holes as you need.
Make sure the straw of desired size fits into each hole.
Leave some space between the holes, allowing plants to spread out as they would grow.
Up to 5 holes seems to be the maximum I can think of ;)
Though, in this example I make only 4 holes.
Later you will see why ;)
The holes can be of any shape as long as the straw fits in.
But the rounder the better.

The diameter of the holes should be big enough for the stem of the plants to fit through.
So, for larger plants you may need a pipe bigger than straws :)
I prepared 4 different diameter pieces of straws all cut about 3 cm long.


I use plasticine to secure straws in the holes.
Plasticine is waterproof and never dries.
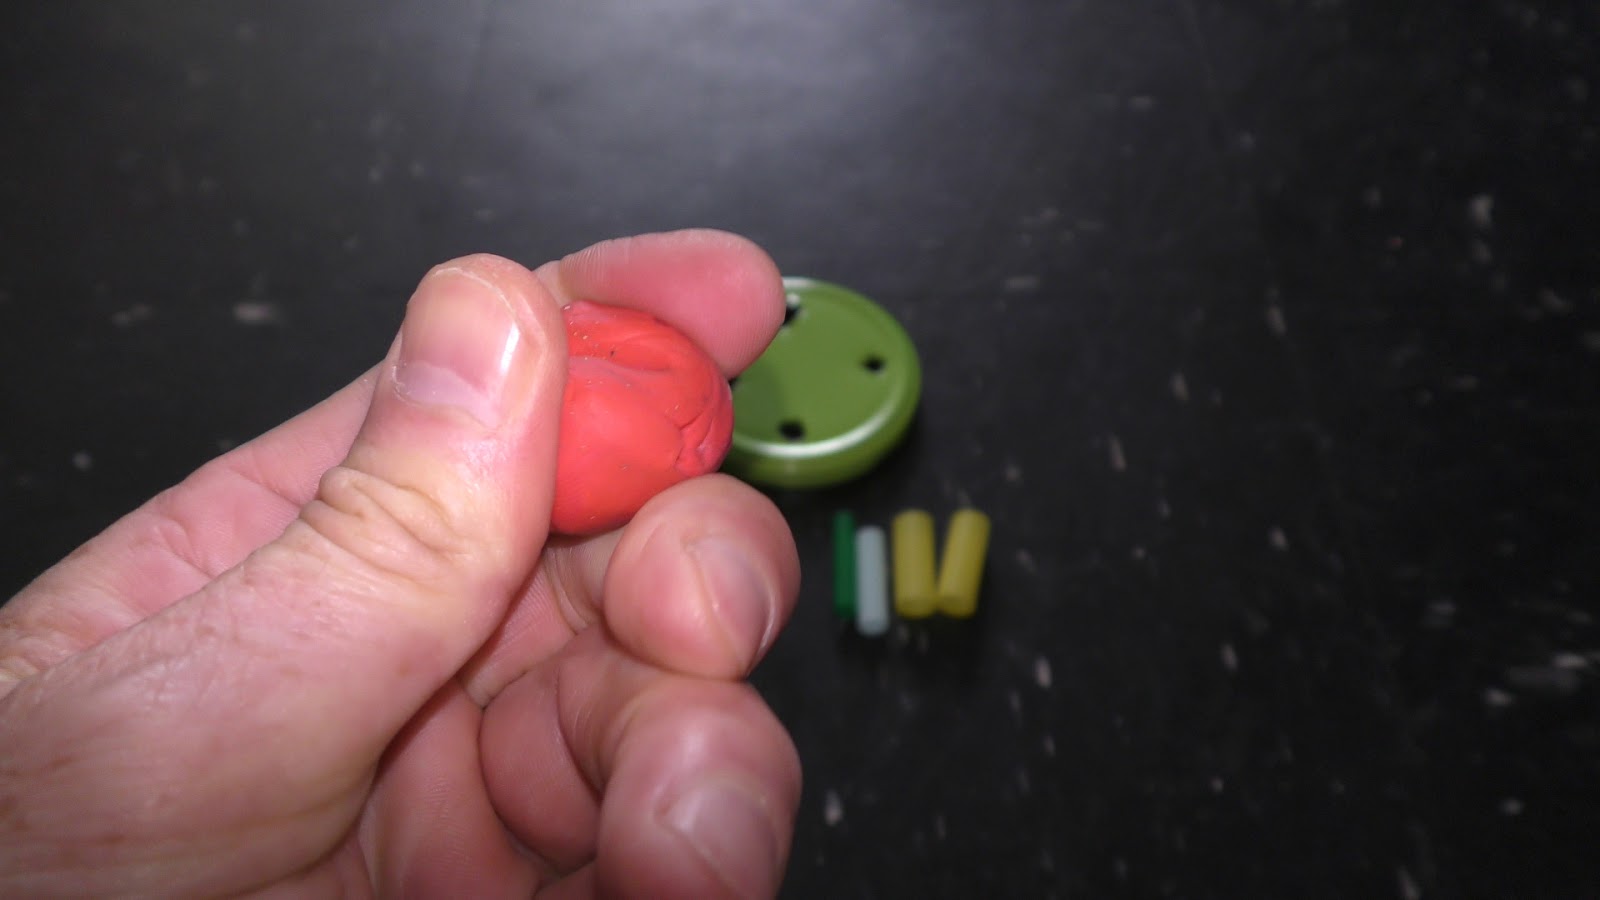
Make a ring out of plasticine.
First I make a stick.

Then roll the stick around the straw to make a ring.


Make the ring at the end of the straw.

Insert the straw in the hole until the ring rests on the cover.


Press the ring to the cover to seal gaps between the straw and the edge of the hole.


Fix all holes with straws in the same fashion.


The cover fixed in this fashion serves as a base for the aquarium garden and it reduces water evaporation.

In the previous month, I set up this nursery aquarium in a 3 liter jar.

Put the cover on the jar.
Congratulations! We have made the mason jar planter.
I prefer to call it an aquarium garden.

Let's assemble the top part of the garden.
First let's add a dry branch.

Trim it to a desirable size.

Put the branch in one of the holes.


Put the cover on the nursery.
Make sure the bottom part of the branch stays above the water level.
Otherwise, uncured wood will discolor water.
I hang Spanish moss on the branch.

I use a piece of plasticine and a coin to make a base for a sculpture.
That's quite self-explanatory.

I put the sculpture next to the branch.
Right here in the middle of the garden.

It already looks nice.

It's very important to keep water level below the bottom edge of the straws.

Later, I add three succulent plants to this garden.

Here you can see it on September 7th, 2019

Roots in the water.


Here you can see my growing underwater Peace lily.
There are 3 females and one male dwarf guppies of my 3rd breeding line.

Here are a couple more of my aquarium gardens where I use the same type of planter.

That's how it is on October 2nd.

Roots in the water.
Straws always stay above the water.

Check links in the description to the video for my other variations of planters and aquarium gardens, and list of videos about all my plants.

Have fun and happy aquarium gardens :)
No comments:
Post a Comment