

Buy hinged glass top on Amazon (paid link):
I've been using this store bought lid for covering my 29 gallon tank for a number of years.


I made some adjustments to fit it properly.
Check my videos for more details about it.


The main purpose of using lids or covers on aquariums is to reduce water evaporation.

Let's remove the lid from the aquarium for a week to check how well it works.

This LED light hanging above does not get hot and should not have any noticeable effect on evaporation.


I placed a measuring tape at the corner for tracking the water level.

Add dechlorinated aged water to the level.


So the water level now is on the 0 mark of the measuring tape.

Temperature, air humidity and water surface area are the major factors effecting the evaporation.

The temperature in my apartment is set at 72-76F all the time.

Six days later the water level has dropped more than 1 cm.

This water evaporation rate is 100% consistent with a previous experiment I did using a small tank.


Okay. Let's add water to the 0 mark level.


It would take about 10 months for water to evaporate completely from this tank without a lid if I don't refill it.

Though, fish and plants may get sick and die because of poor water quality even in the first months.
We keep the water parameters stable by adding water to the level as needed and by reducing the water evaporation using lids.


I like to use plexiglass for making lids (I call them planters) for my custom shaped aquariums.


Lids made of glass are great, but harder to customize at home.


Lids sold in pet stores often need to be customized for proper fit even for standard aquariums of the same brands.

And it could be quite a lot of DIY work for something that you may expect to work out of the box ;)


There is a simpler solution when it comes for making a cover or a lid for your aquarium.

Plastic food wrap works great for making an aquarium lid when you need it.

It could save your uncovered aquarium from a disaster in times you go on weeks long vacations.

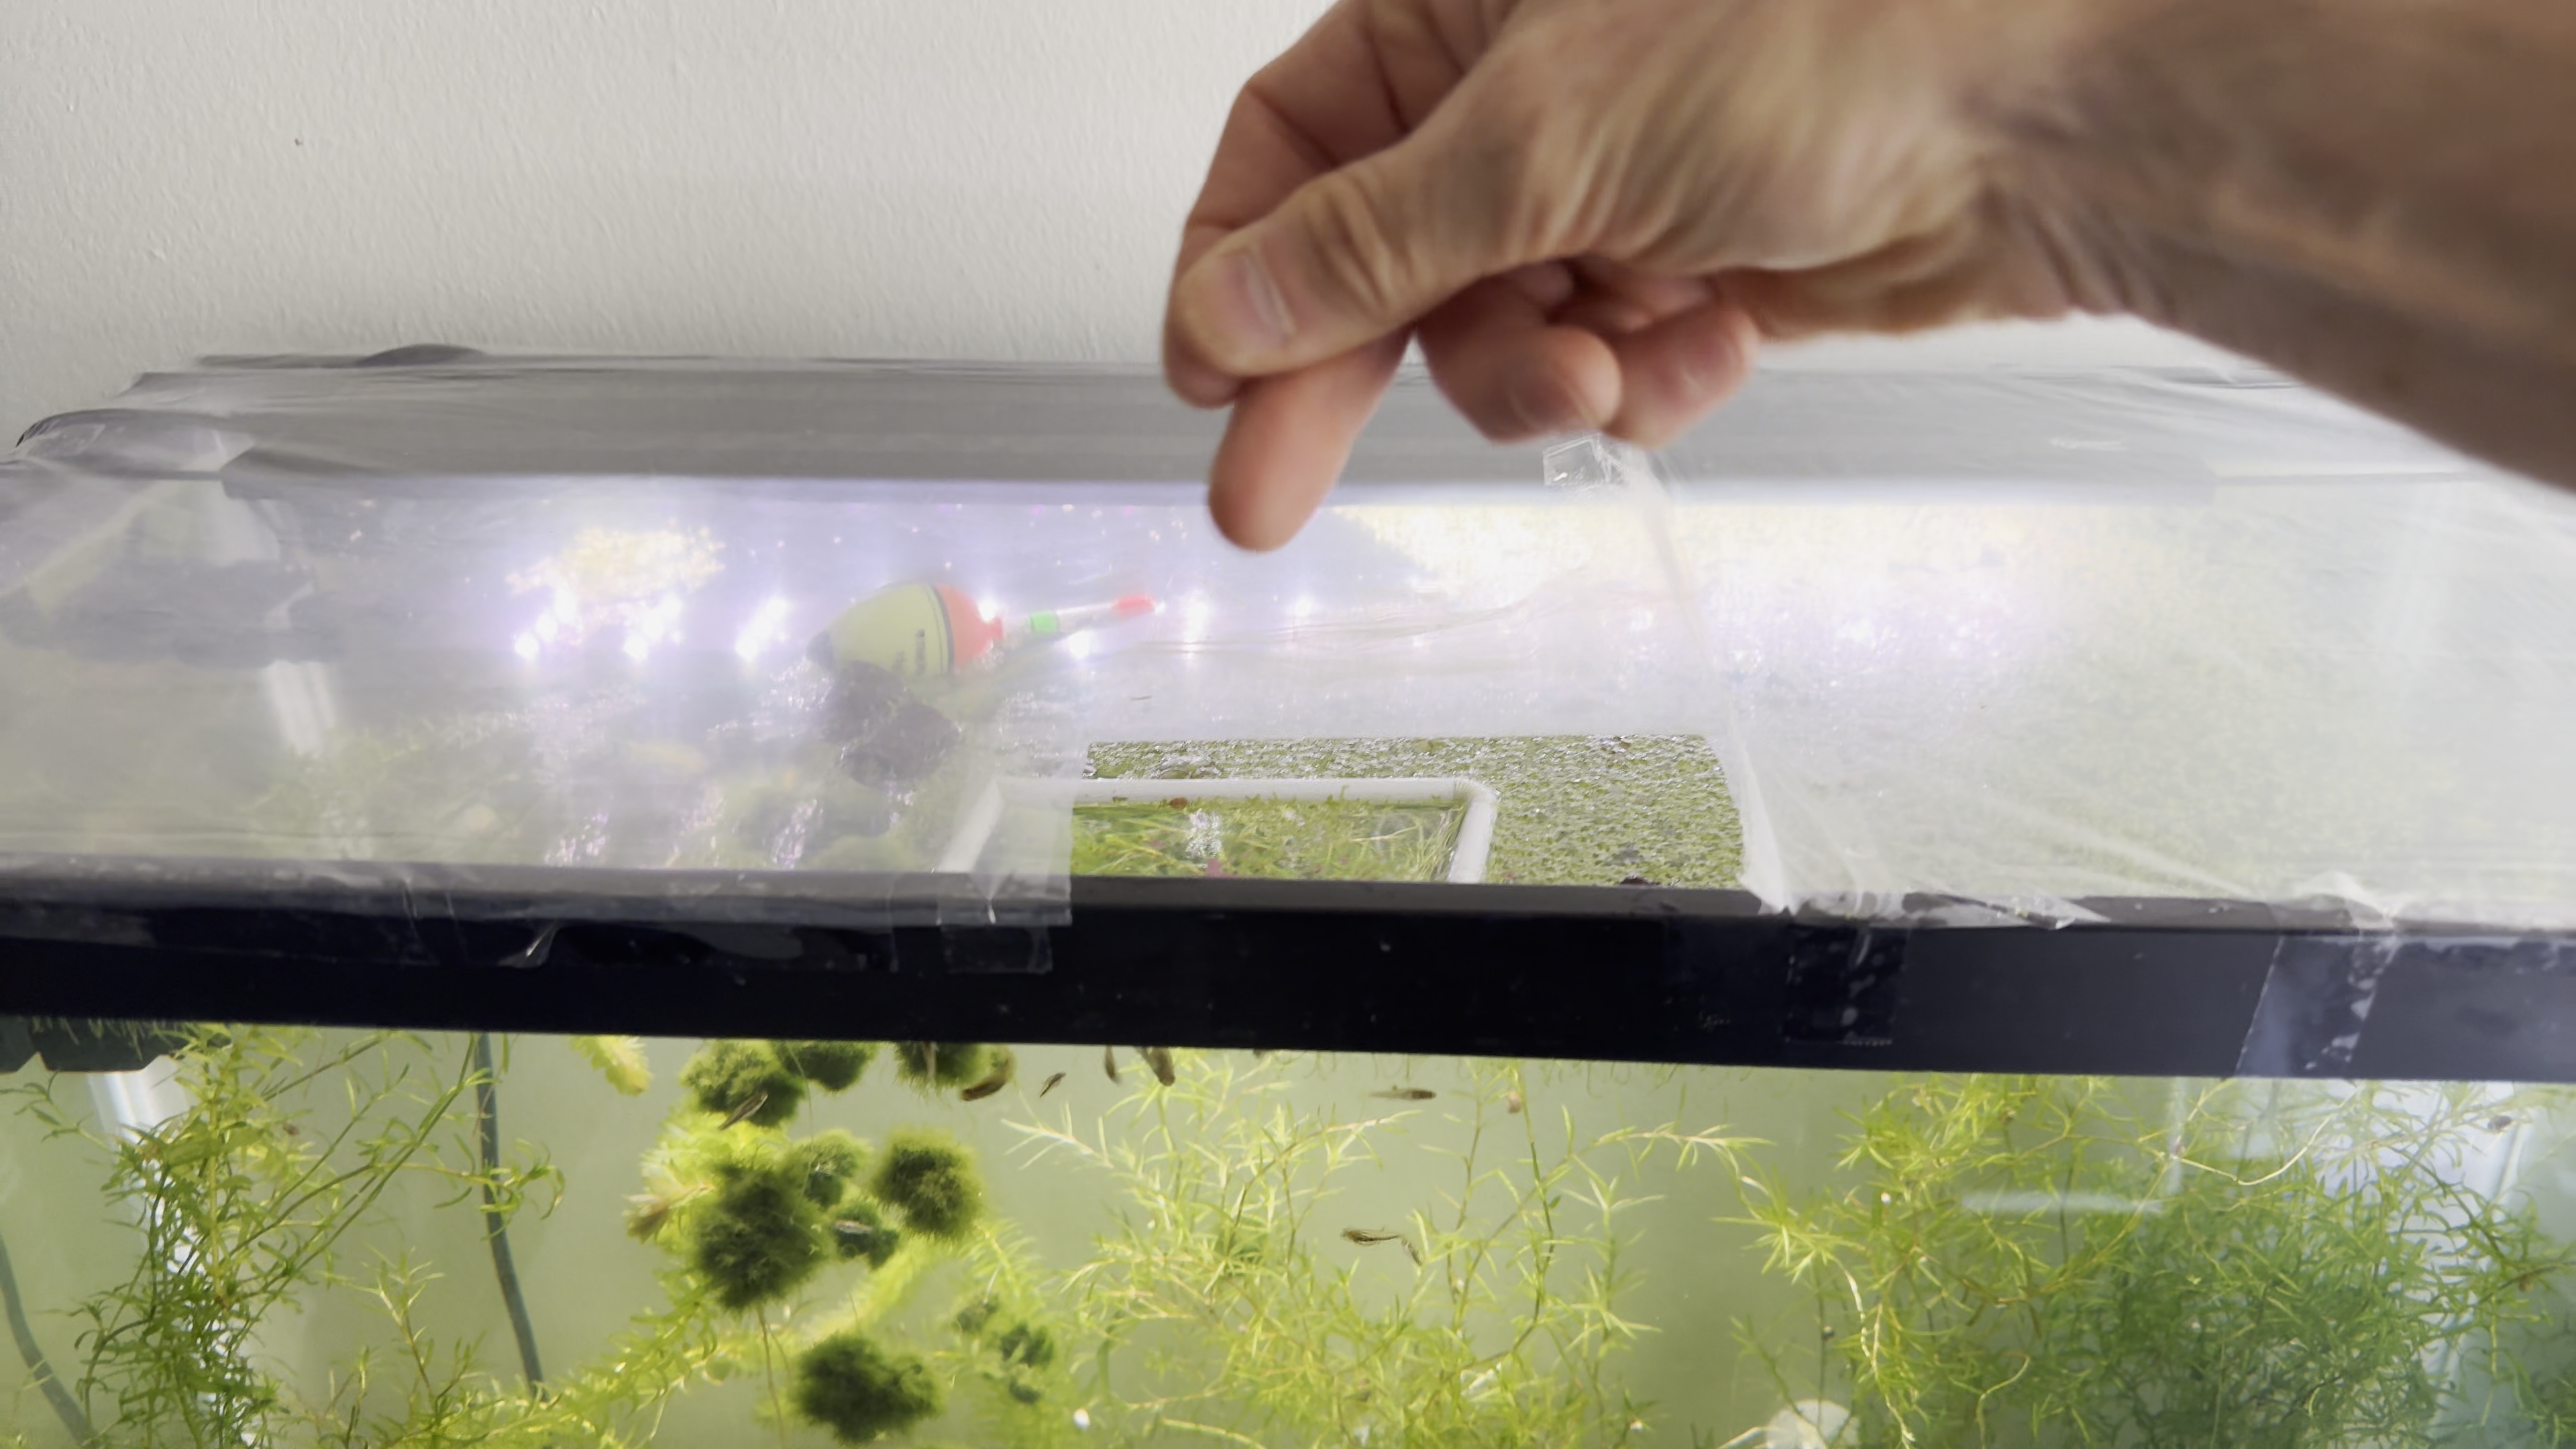
In this example I am going to use a plastic bag for making a lid to cover my aquarium.


Cut sides of the bag to make one long sheet of plastic.


I use a clear sticky tape for securing the plastic sheet on the top of the aquarium.

This is a very simple and quick way of making a lid for aquariums everyone can do.


I pull the cover over the LED lights in this example.
This LED light does not get hot and it is water proof as well.


Secure the plastic sheet to the brim on each side of the aquarium.


The lid must have small holes or gapes for allowing some air circulation.
Remember! Fish and plants in aquariums need constant access to atmospheric air for breathing.


Now let's cut a door in the cover right above the feeding spot.


I use a sticky tape to secure the edges where I cut the door "frame" :)


And I use the sticky tape to make a sort of... door handle :))


That's it. Let's check it out.

The air circulates through gapes around the LED power cable.

I left some gapes on each side of the brim.


There are gapes at the feeding door.


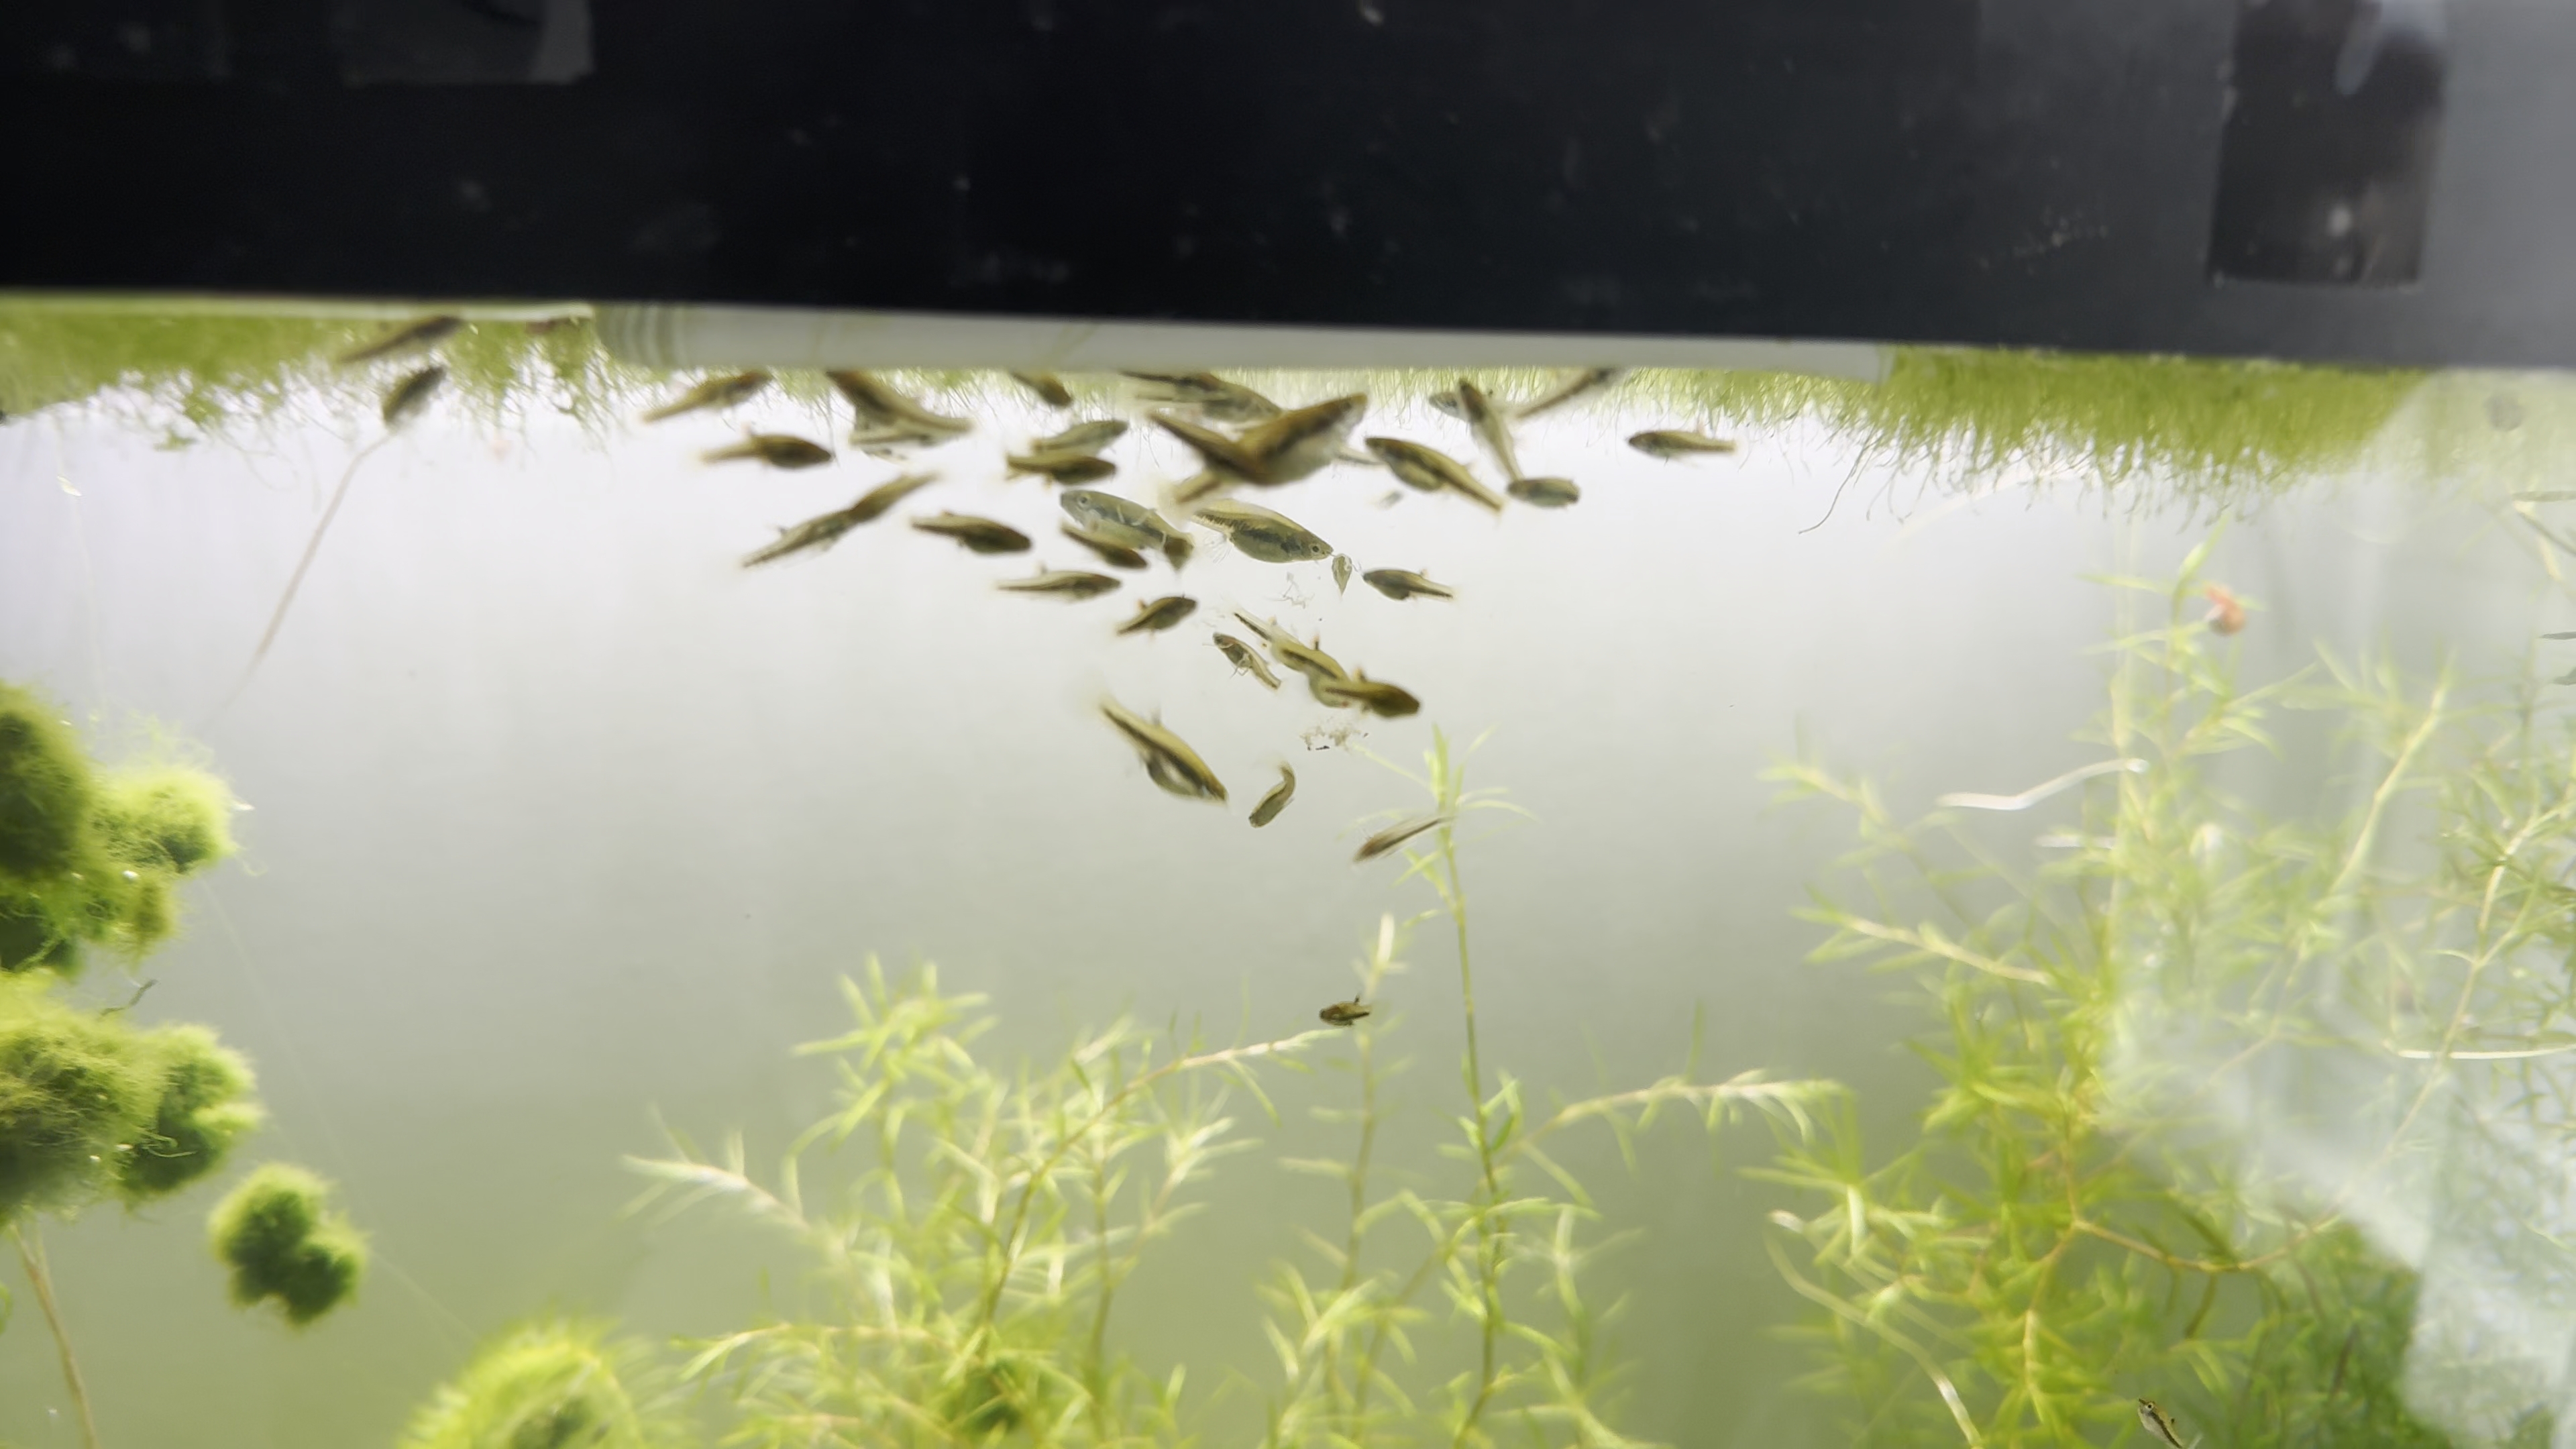
Let's feed the fish.


Remember! the cover should not be air tight.

Great! The water level is on 0 mark as of February 10th, 2025.


You can see the water condensates on the cover.

It happens during nights when room temperature is a bit lower than the water temperature in the aquarium.

I feed my fish various food - this time it's Grindal worms.


Fish love Grindal worms and they are very simple to culture too.


Keep the door close to reduce the evaporation.


Two weeks later - the water level in the aquarium remains the same.


This DIY aquarium lid works just great.


Have fun and happy aquariums :)

No comments:
Post a Comment