

Cut off the bottom part of the bottle.


Use scissors if necessary to trim the edges.


We have to glue the tops of two bottle caps together.

Apply hot glue generously on the top of one cap.


Press both caps together firmly.

Let the glue cool down.

Spread excess glue around the edge where the two caps meet.


We have to make the hole at an angle from the side of one cap to the opposite side of the other cap.
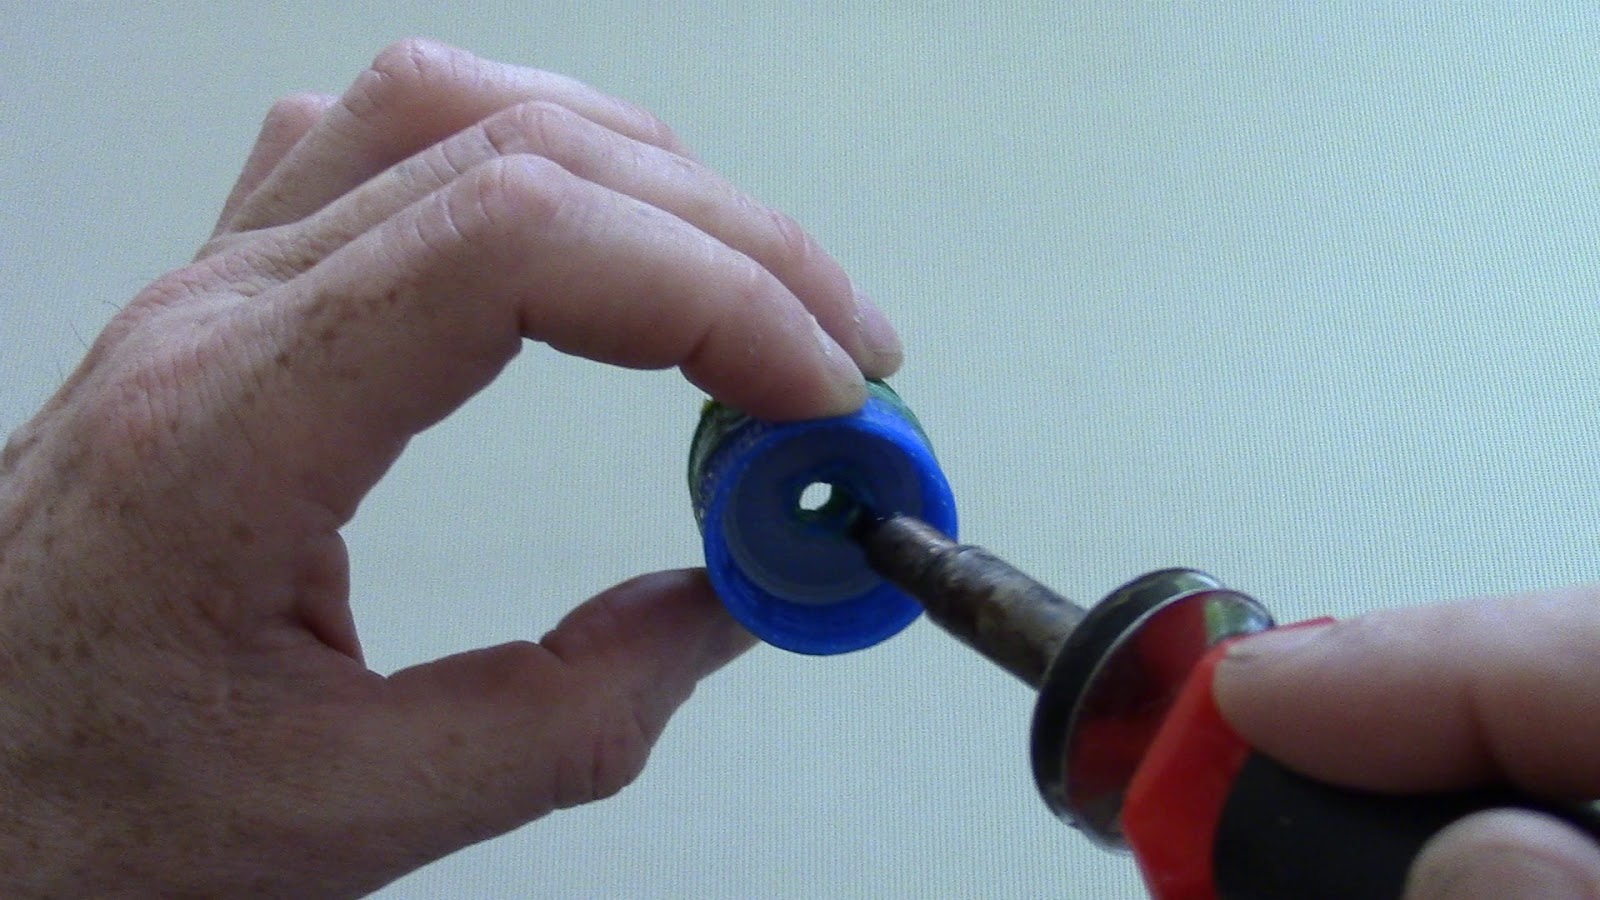
Make a hole through the center of both caps using a hot iron.


Point the hot iron aslant to the surface making a dent on one side of the hole. Avoid touching the sides of the caps with hot iron!

Work both caps to make the hole.


Make a hole on the side of the bottom cap at the point where the first hole is angled.


Smooth the edges of both holes.


The tube should fit nicely through both holes.


Pull the tube through the side hole.


Then pull the tube through the center hole.


We have to seal the tube in the center hole from the side of the bottom cap. Loosen the tube a bit between the holes for our convenience.

Apply hot glue generously on the side between the holes.


Pull the tube to straighten it up between the holes.


Completely seal both holes with hot glue.

Let the glue cool down. Trim off the tube inside of the top cap.


Screw the top cap on the 2nd bottle.

We have to glue the bottom cap to the bottom of the first bottle.

Check where to apply the glue.

Apply hot glue generously inside on the bottom of the bottle.

Apply hot glue on the brim of the bottom cap.


Glue the bottom cap to the bottom of the bottle. Hold the bottle in proper position until the glue cools down.


We have made the base of the aquarium. With this base we can swap bottles at any time without using hot glue!

Unscrew the bottle from the base.

Screw the first bottle in the base.


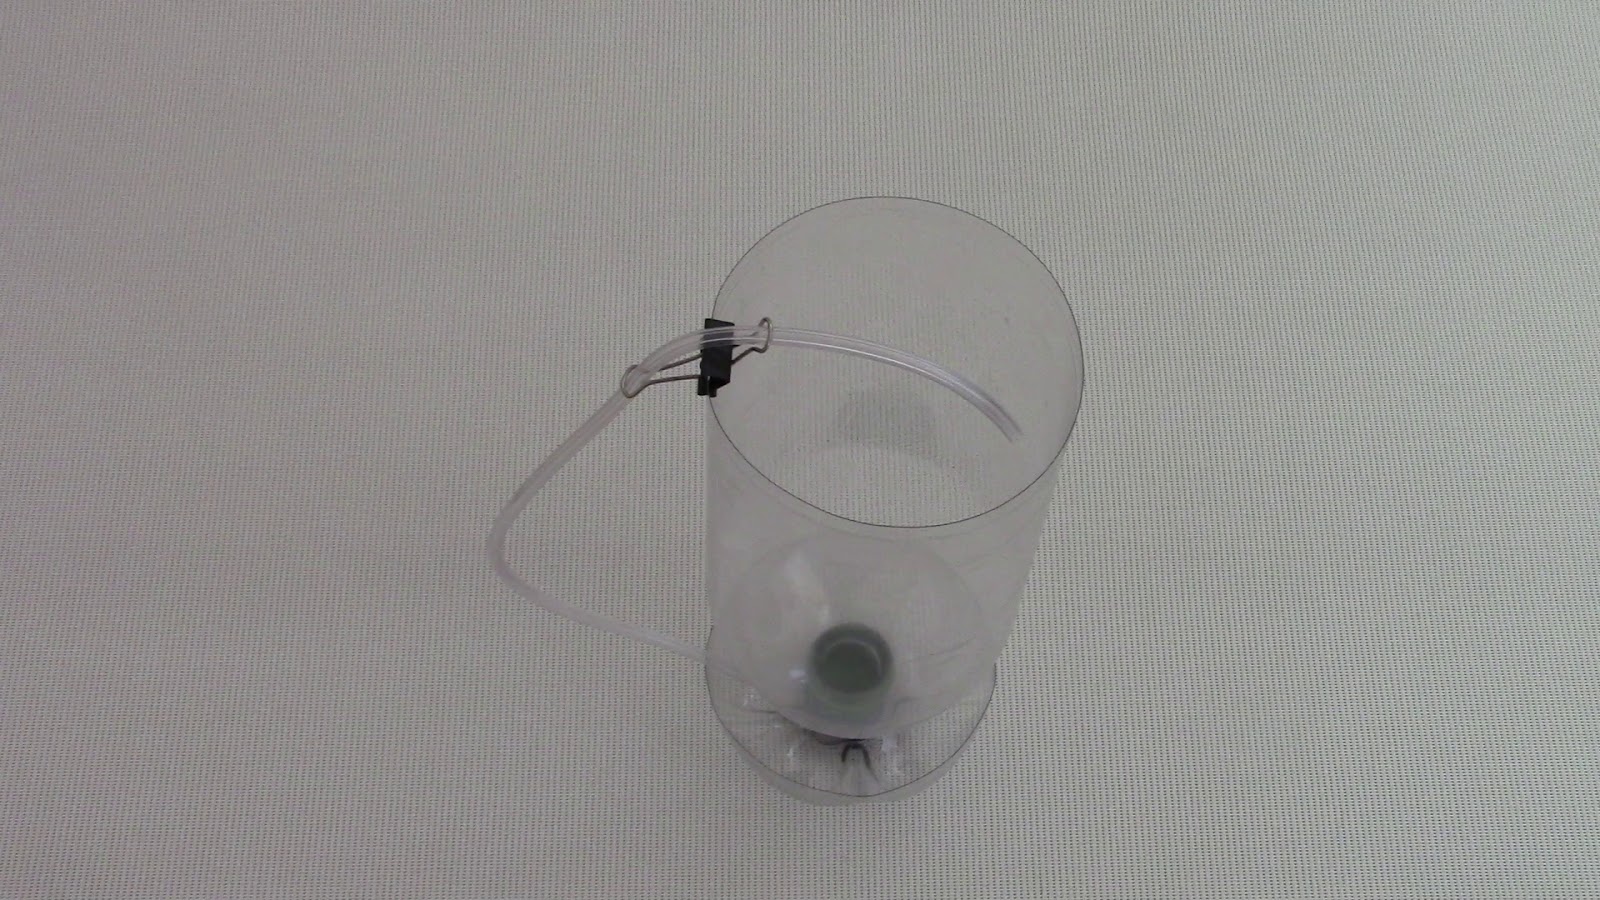
Cut the tube to a desirable length (better longer than shorter!).


Pull the end of the tube through the handles of the paper clip. Fix the paper clip to the edge of the bottle.
Place a large rock inside of the bottle.


Fill up the base with rocks. The bottle should rest on top of the rocks.

Fill up the bottle with dechlorinated water, snails, and plants.

Attach background (optional) and put some guppy babies in the aquarium.

Use the tube to drain water to remove waste.


Remember to add water to maintain a level in the aquarium.


Congratulations! We have made an aquarium of a plastic bottle. It has a disposable tank and a reusable base!
This aquarium is good for growing guppy fry, live fish food (as suggested by YouTubers in comments on my previous videos) and etc.
Have fun and happy fish :)

No comments:
Post a Comment