

Eat two boxes of them for this project (alone or with your friends).

Remove stickers as described in my previous video.

Then, wash and dry both boxes and covers.
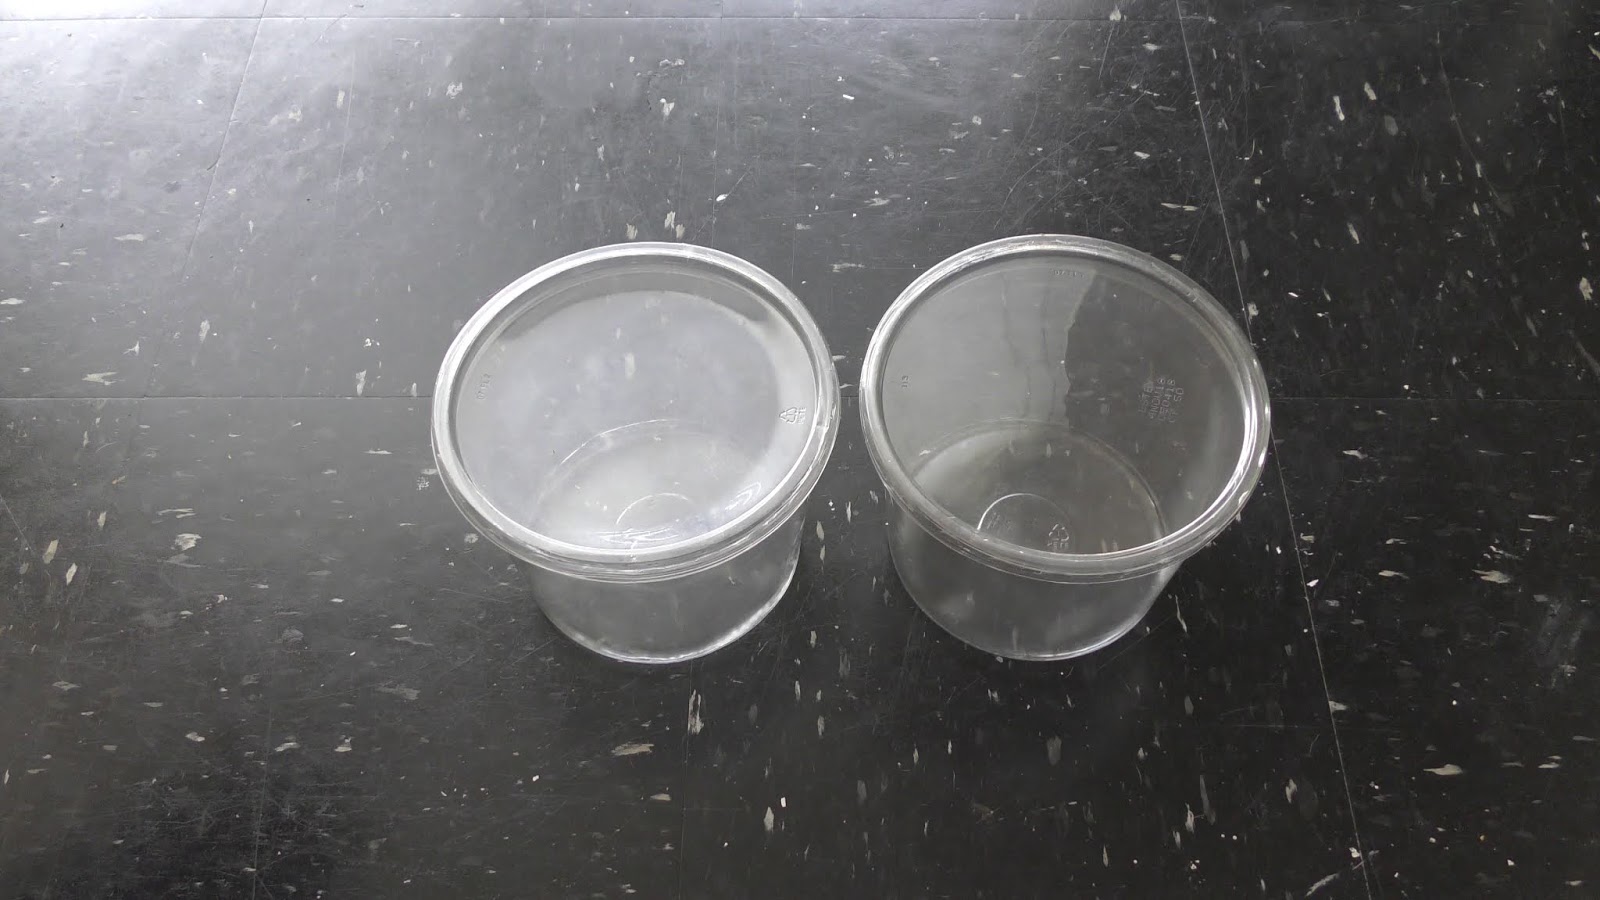
Dimensions of this particular box: the top is about 16 cm, the bottom is about 14 cm and it is about 11 cm high.


Check links in the description on how to calculate aquarium size for your fish.

The flipped over box fits on the top of the other box.

Put some gravel in the box.

Add dechlorinated water.
2 liters fits in this box.
Let it sit overnight.

Add aquatic plants of your choice.
In this example, I added land moss.
This type of land moss can stay underwater for many months, but I did not succeed growing it underwater yet.
Still trying it ;)


Here, I add hairgrass.
It is a fully aquatic, easy to grow plant.

I use shells to anchor plants.
I put useful links in the description to the video for you to check for details about everything mentioned in this video.

This is another type of land moss I've been trying to grow underwater.
So far it has been underwater for about 2 months without showing any signs of growth.


Here is another type of land moss that I am growing underwater.

It is Tree moss.
I already have a video showing this moss grows underwater :)


Without counting experimental plants, usually I put at least 1 fast and 1 slow growing plant in every aquarium.
The more varieties the better.
And so, I add a cutting of the fast growing Elodea.


I add pond snails and seed shrimp in all aquariums.

Tiny aquatic critters like this are very beneficial.


You can add many others of your choice.

Congratulations! We have just built a self-sustaining aquarium.
No kidding.
Just cover the top and place this aquarium closer to a window to get more light for algae and plants.

There are bumps on the sides of the cover that serve as locks.


Trim them off with scissors.


The cover without bumps can be placed on and removed effortlessly.

Cut a hole of desirable size and shape in the cover.

I made the hole big enough to feed my pets and move them in and out, if necessary, without moving the cover.

Place the cover on top of the aquarium.

This cover is a base for the top garden.


In this example, I place a piece of driftwood in my garden.
Make sure whatever you use fits inside of the box.


I cut both ends of the driftwood flat.
So it can stand straight either way ;)


Nevertheless, I deem it is better to secure it.

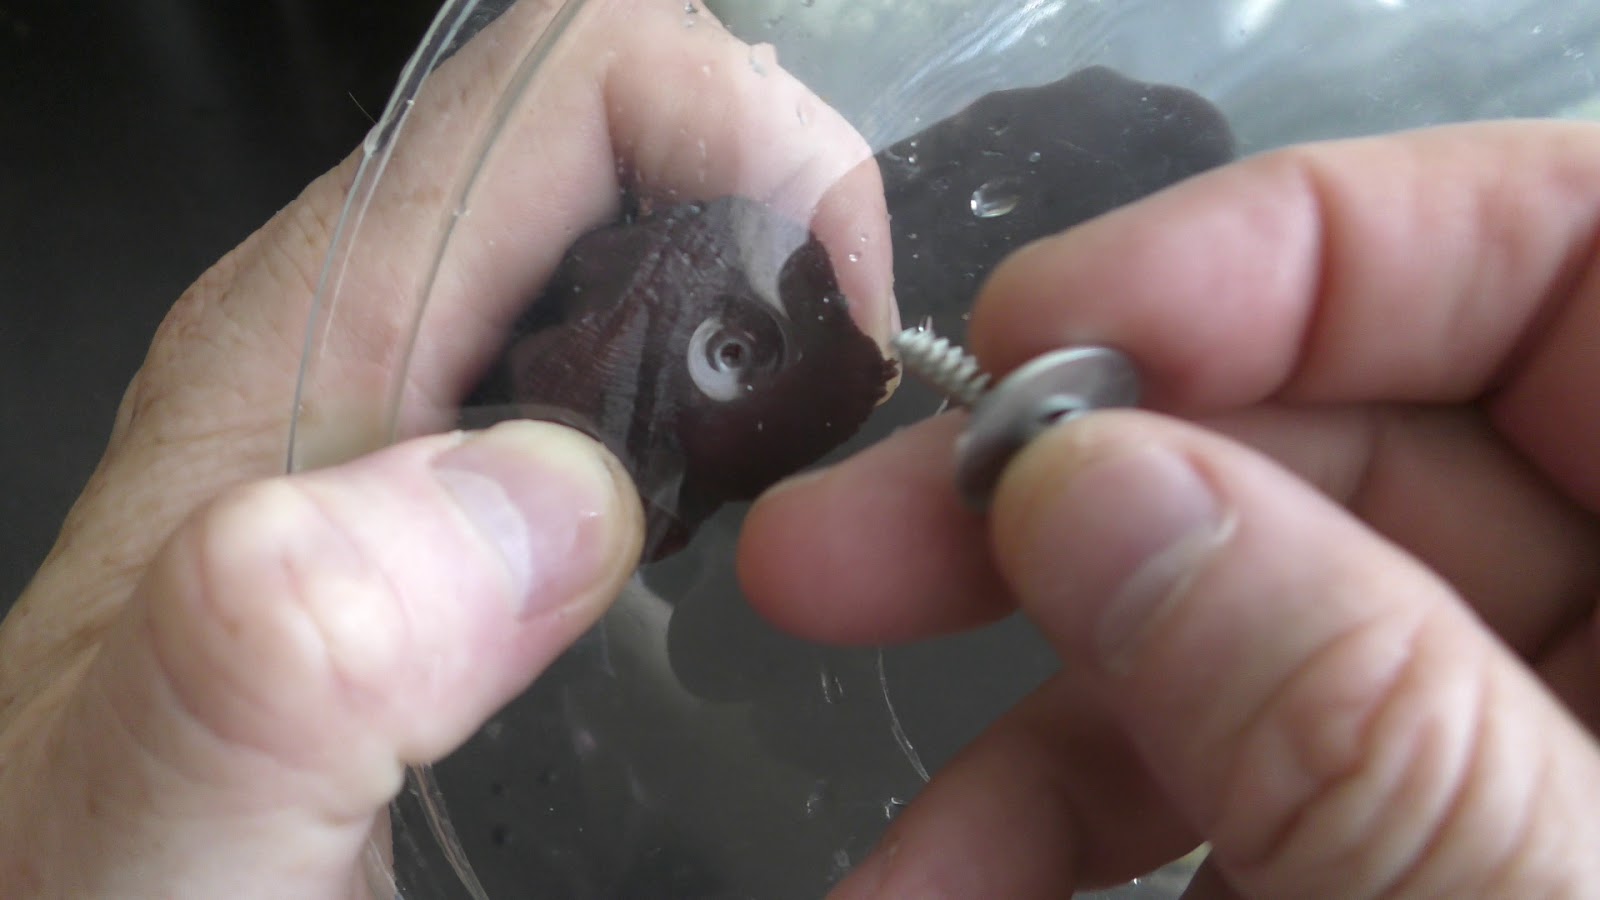
Drill or poke a hole in the base of the driftwood.


Poke a hole in the plastic cover at the spot where you want to place the driftwood.

Screw the driftwood to the cover using a stainless steel screw with a wide bottom flat head/washer.
Stainless or not, make sure the screw does not touch the water ;)


Place the cover on the aquarium and...put plants of your choice on the top.

Here is my first take on it :) on September 16th, 2018
The second box placed as a cover reduces water evaporation.


Here I planted land mosses between shells.

I don't know the name of this white...whatever it is...it looks great :)


September 25th, 2018
I add young newborn guppies a week or more after adding plants.

Use a pipette to move guppy fry between tanks.


I feed my aquatic pets with homemade fish food.


Make sure the plants you choose for your garden fit inside of the cover.
Moss and herbs are great choices for a garden of this size.
Here is a top view.

I tried different plants in my aquariums.
Many of you may recognize this jar from the "Algae Control" video.
I decide to use growing underwater land moss to reset my garden - details on this project in an upcoming video ;)


I was very tempted to put moss on the tree...to make something like this.
I am certain to do it later ;)

But first I need to see how this moss will grow to begin with.
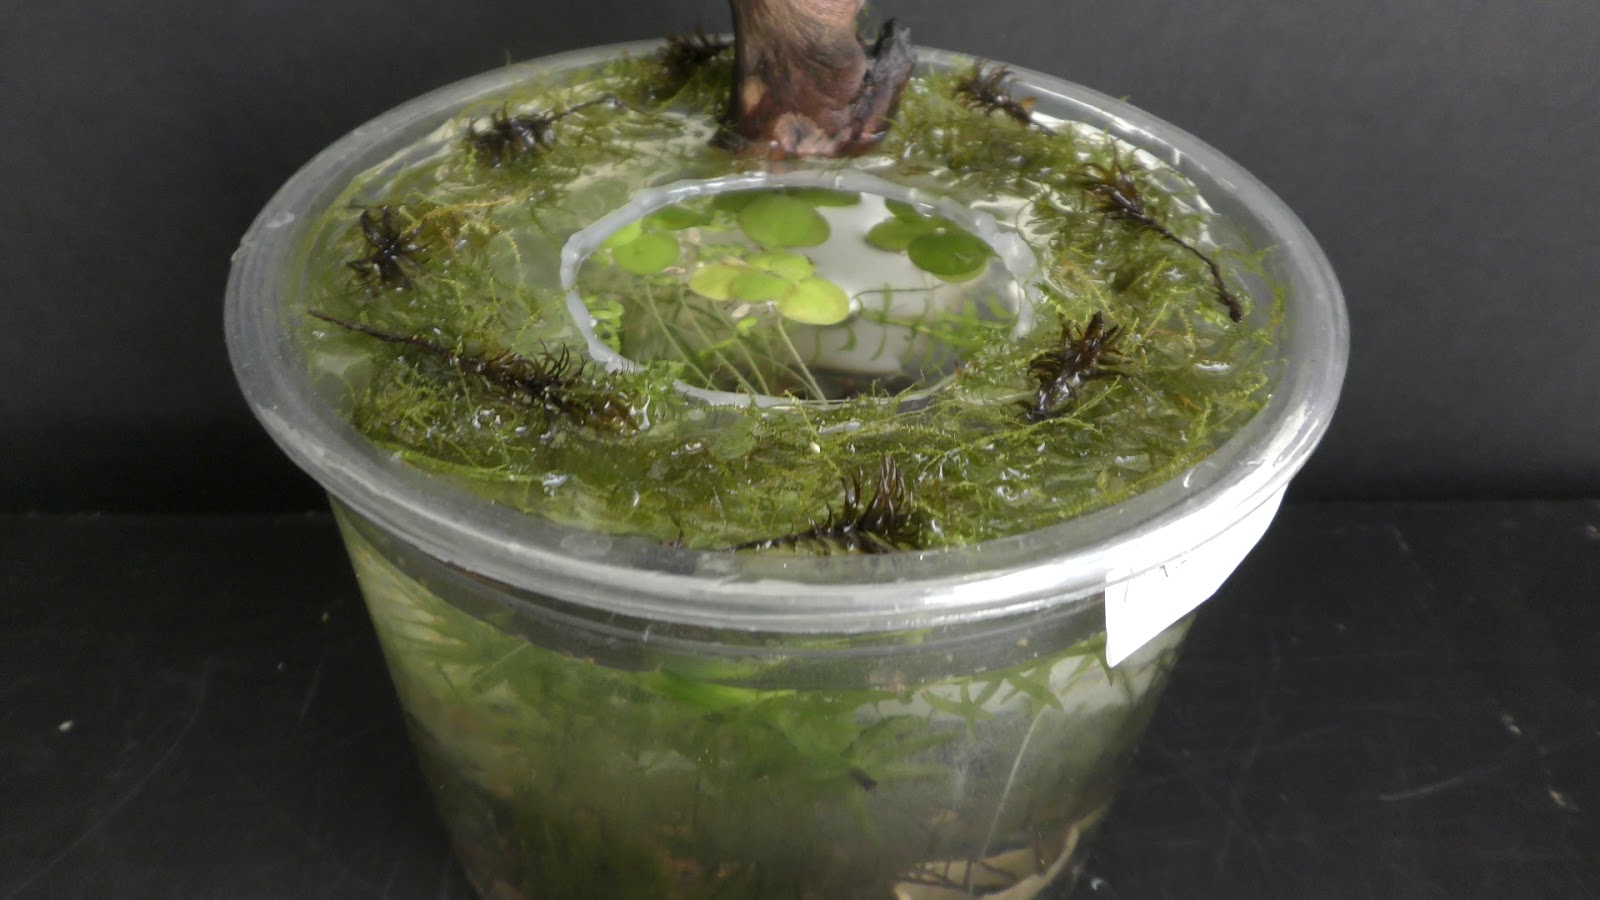
So, I just place the moss on the cover.

Here I add another land moss right on top of the first one.


Let's see how they compete against each other.
Usually the faster growing wins at the start, while slow growing catches up later on - ideally there would be no losers :)


Here, I flooded the moss on the cover to imitate the underwater conditions I pulled it out from.


October 24th, 2018
All set.

Let's cover it.

November 11th, 2018
The green sprouts of slow growing moss start growing pointing vertically.
I spray my garden with dechlorinated water every other day after feeding my fish.


December 14th, 2018
The first moss is over 1 cm tall and it is climbing on the tree as I was hoping for it :)

There is much more to say about moss and plants...
I am sure to do it in future videos ;)


Here is another example of a similar garden that I set up later.
Looks great!


The idea of such garden goes back to the time when I was growing Aloe and Peace lily on top of my standard 10 gallon aquarium.

You can pick up a lot of useful info on this matter in videos from my Aquarium Garden playlist.
I will show other plants in future videos.


It is important for this garden to keep the cover on.
Guys! A pair of any size tanks, not just plastic boxes, bottles or jars, any tank can be used to make such an aquarium garden :)

Rotate the garden for each side to get enough light.
I use only indirect sunlight coming from the window.
No fertilizers, no heaters.

Just trim the moss and plants as necessary.
Have fun and happy aquarium gardening :)

No comments:
Post a Comment