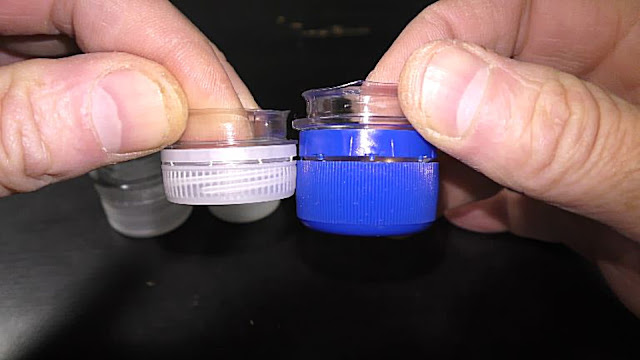
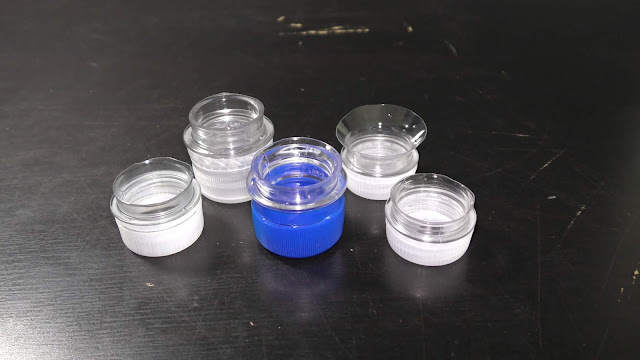
Trim the edges nicely to a desirable height.
Here is a shorter version I made just as an example.
Larger bottles have larger size caps.
And caps come in different colors.
I use the smallest size in this example.
Use a sharp blade to cut a hole in the cap.
Make the hole an appropriate diameter for your plant to fit through.
Unscrew the cap from the bottleneck.
I use a lid from a mason jar as a base for the planter.
Use a permanent marker to mark a spot to cut a hole in the lid for the bottleneck.
Cut the hole in the lid using whatever tools you may have - even a pocket knife may do.
Make the cut following the inner side of the line.
Make sure the bottleneck fits nicely through the hole.
Bend the sharp edges of the hole inside using a screwdriver.
And then flatten the edges using a handle of the screwdriver.
Insert the bottleneck through the hole and screw the cap pointing inside of the jar.
We have made the planter.
This planter can be modified for use with more than one plant.
Cut about 2 cm long pieces of a plastic straw.
Here I use an 11 mm diameter straw - the widest I can find.
Let's remove the bottleneck for now.
Make holes in the lid for the plastic straw pieces.
We can use the same pocket knife and screwdriver for this purpose.
The hole can be of any shape.
Just make sure the straw fits in nicely.
There is an easy way to make the hole using a puncher of appropriate size and shape.
I use a homemade puncher to make 3 more holes in this planter.
A puncher makes nice holes and quickly ;)
Now, let's assemble the planter.
Insert the bottleneck and attach the cap.
Use plasticine to make a ring around the plastic straw.
Insert the straw into the hole.
Push the plasticine ring down to seal the gaps between the straw and the lid.
In this example, I made a planter for a total of 5 plants.
Let's put the planter on top of a mason jar aquarium.
This planter, as it is, helps to reduce water evaporation greatly.
And now we can put different types of land plants, flowers, herbs, and succulents growing with their roots in water.
Check links in the description to the video for all the plants I've been growing in my aquarium gardens.
Make sure the water level is always below the bottom edge of the straws and roots of the plants stay in the water.
Have fun and happy aquarium gardens :)


No comments:
Post a Comment